Module installation instructions to the ScienSolar package
If you do not have the ScienSolar package installed yet, go to downloads and follow the installation instructions there.
If you already have ScienSolar in your Excel workbook, follow the instructions below to integrate new modules or models into your package.
The ScienSolar package is in Download, and additional model codes in Modules
1
Download the text files that contain the model , usually there are two files, one for the English language and one for Spanish. If supported by the model, there is an additional Excel file called 3DModels.xlsx that contains complementary Excel objects or equations.
2
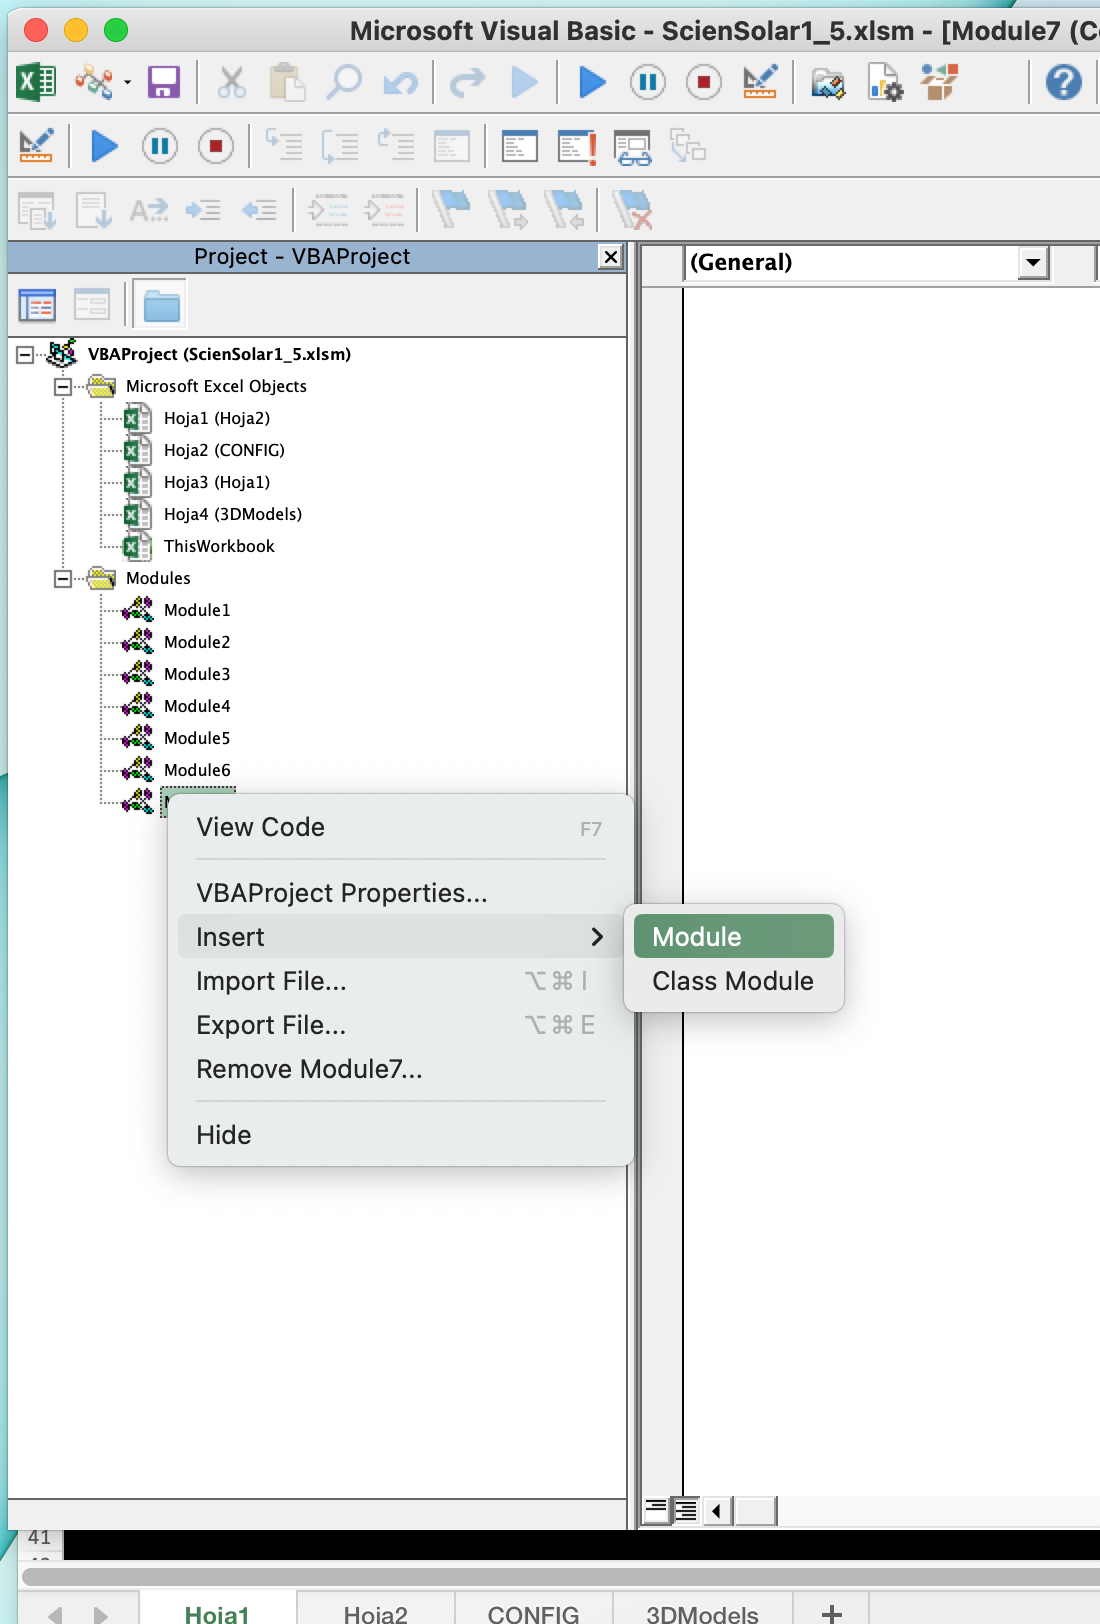
Open the Excel workbook where the ScienSolar package is located, open the VBA editor. This can be done through the DEVELOPER ribbon tab, or by using the keys Alt + F11 (Windows) or Fn + Option + F11 (macOS). Right click on the Modules folder in the project manager (see image). Insert a new module.
3
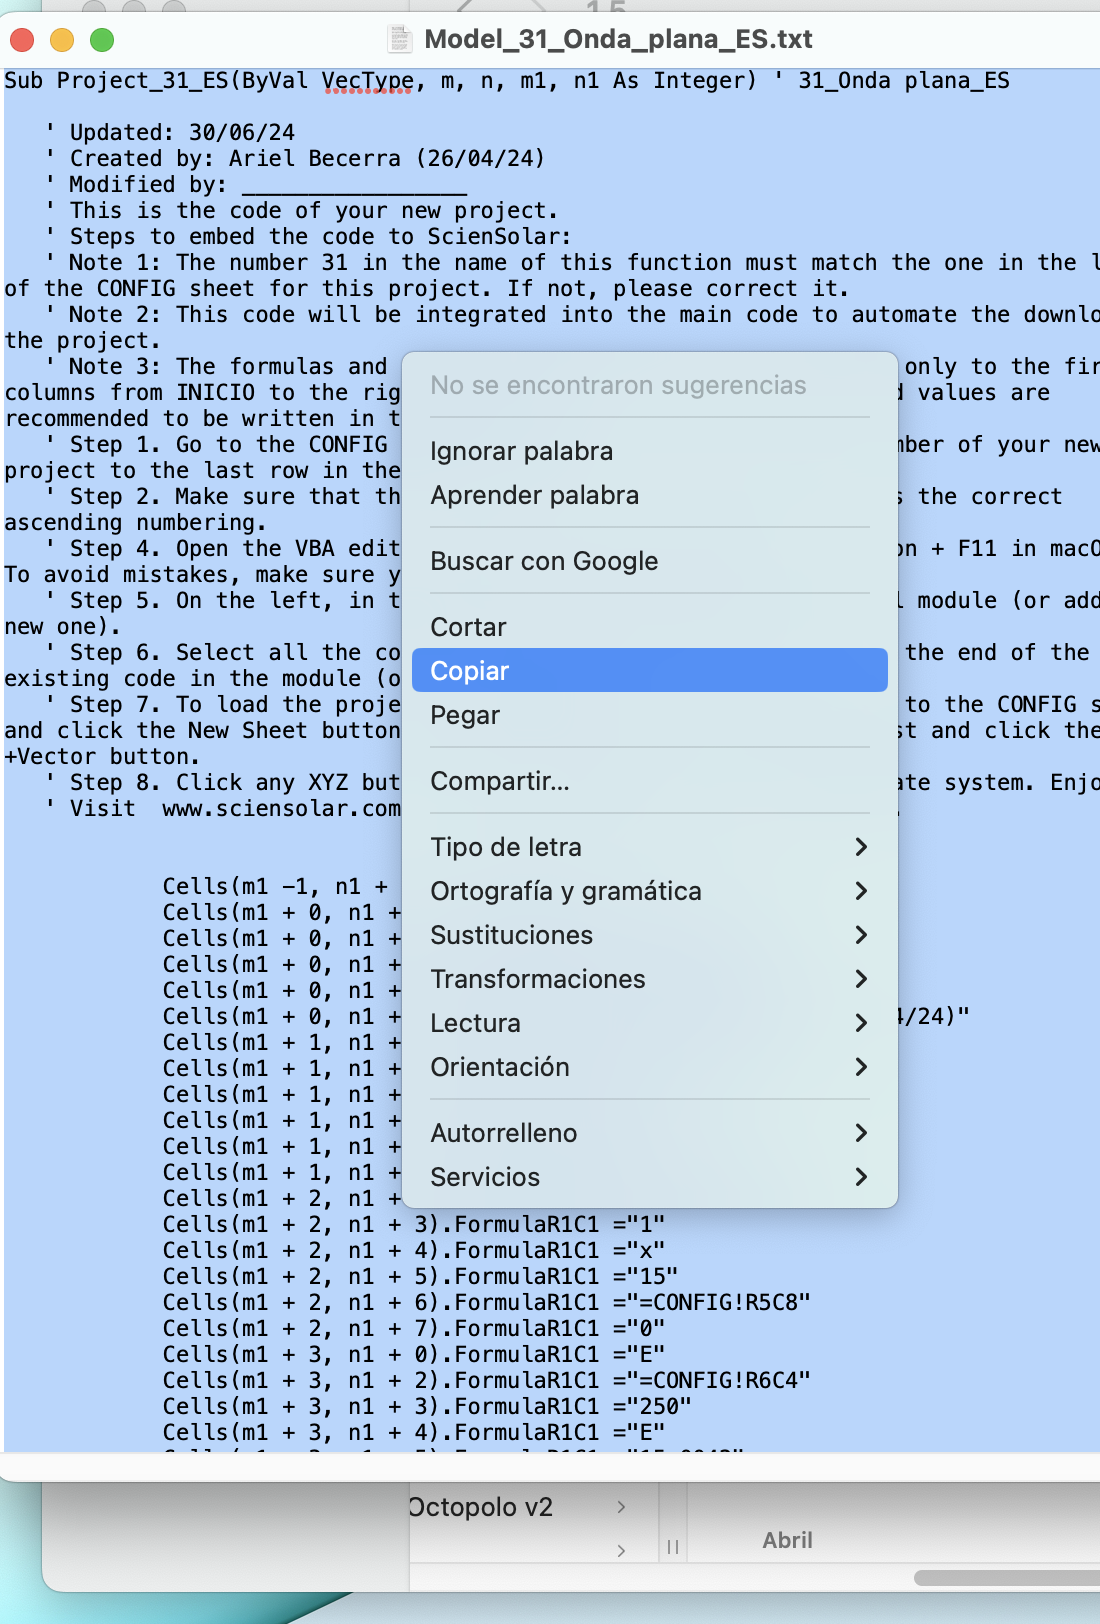
Open the first downloaded text file and copy all its contents (Ctrl+A or Command+A)
4
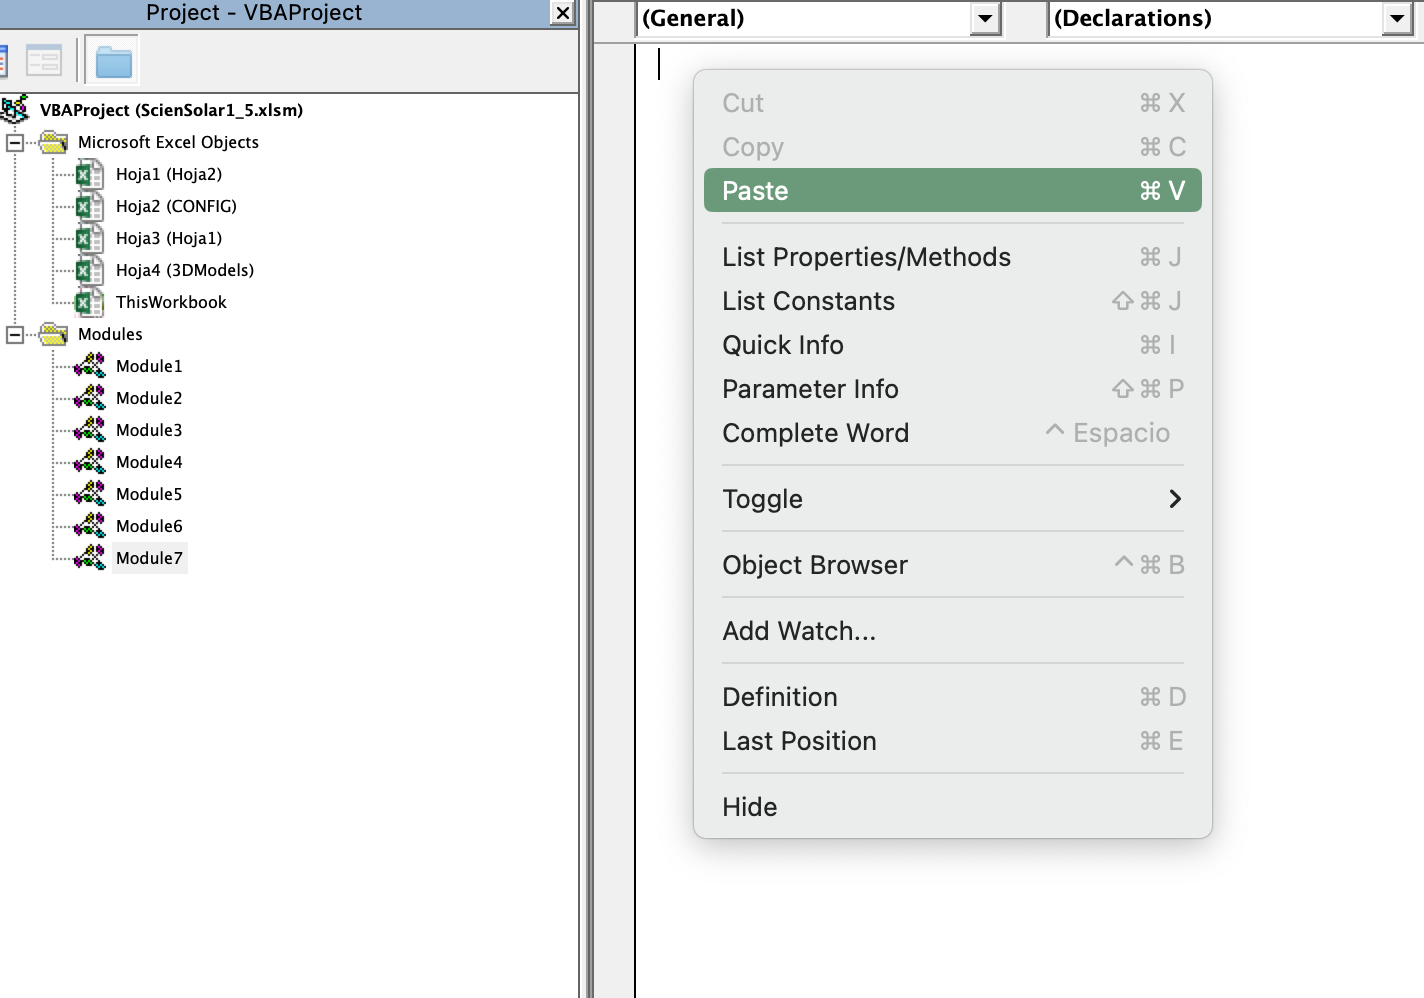
Go back to the VBA editor and in the new module you just created paste all the content.
5
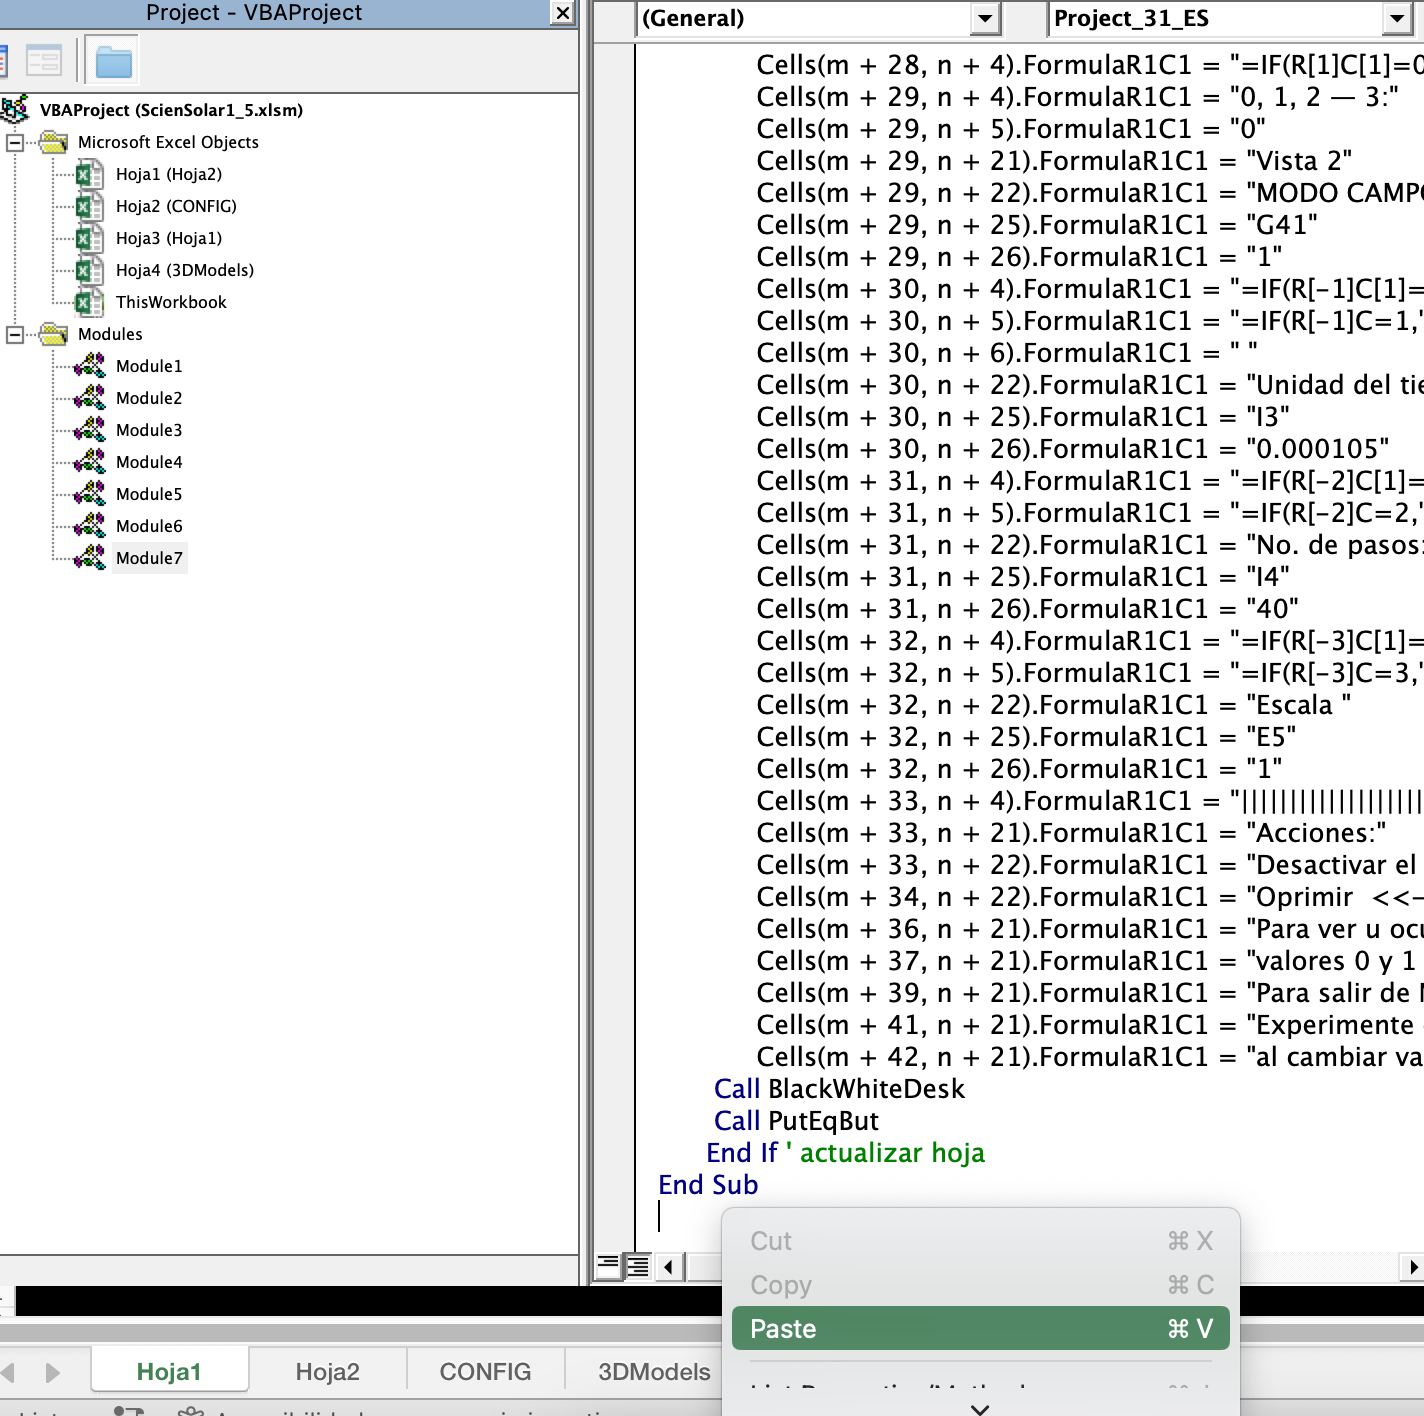
Open the second downloaded text file, copy all its contents and paste it into the same VBA module, just after the code of the first module.
6
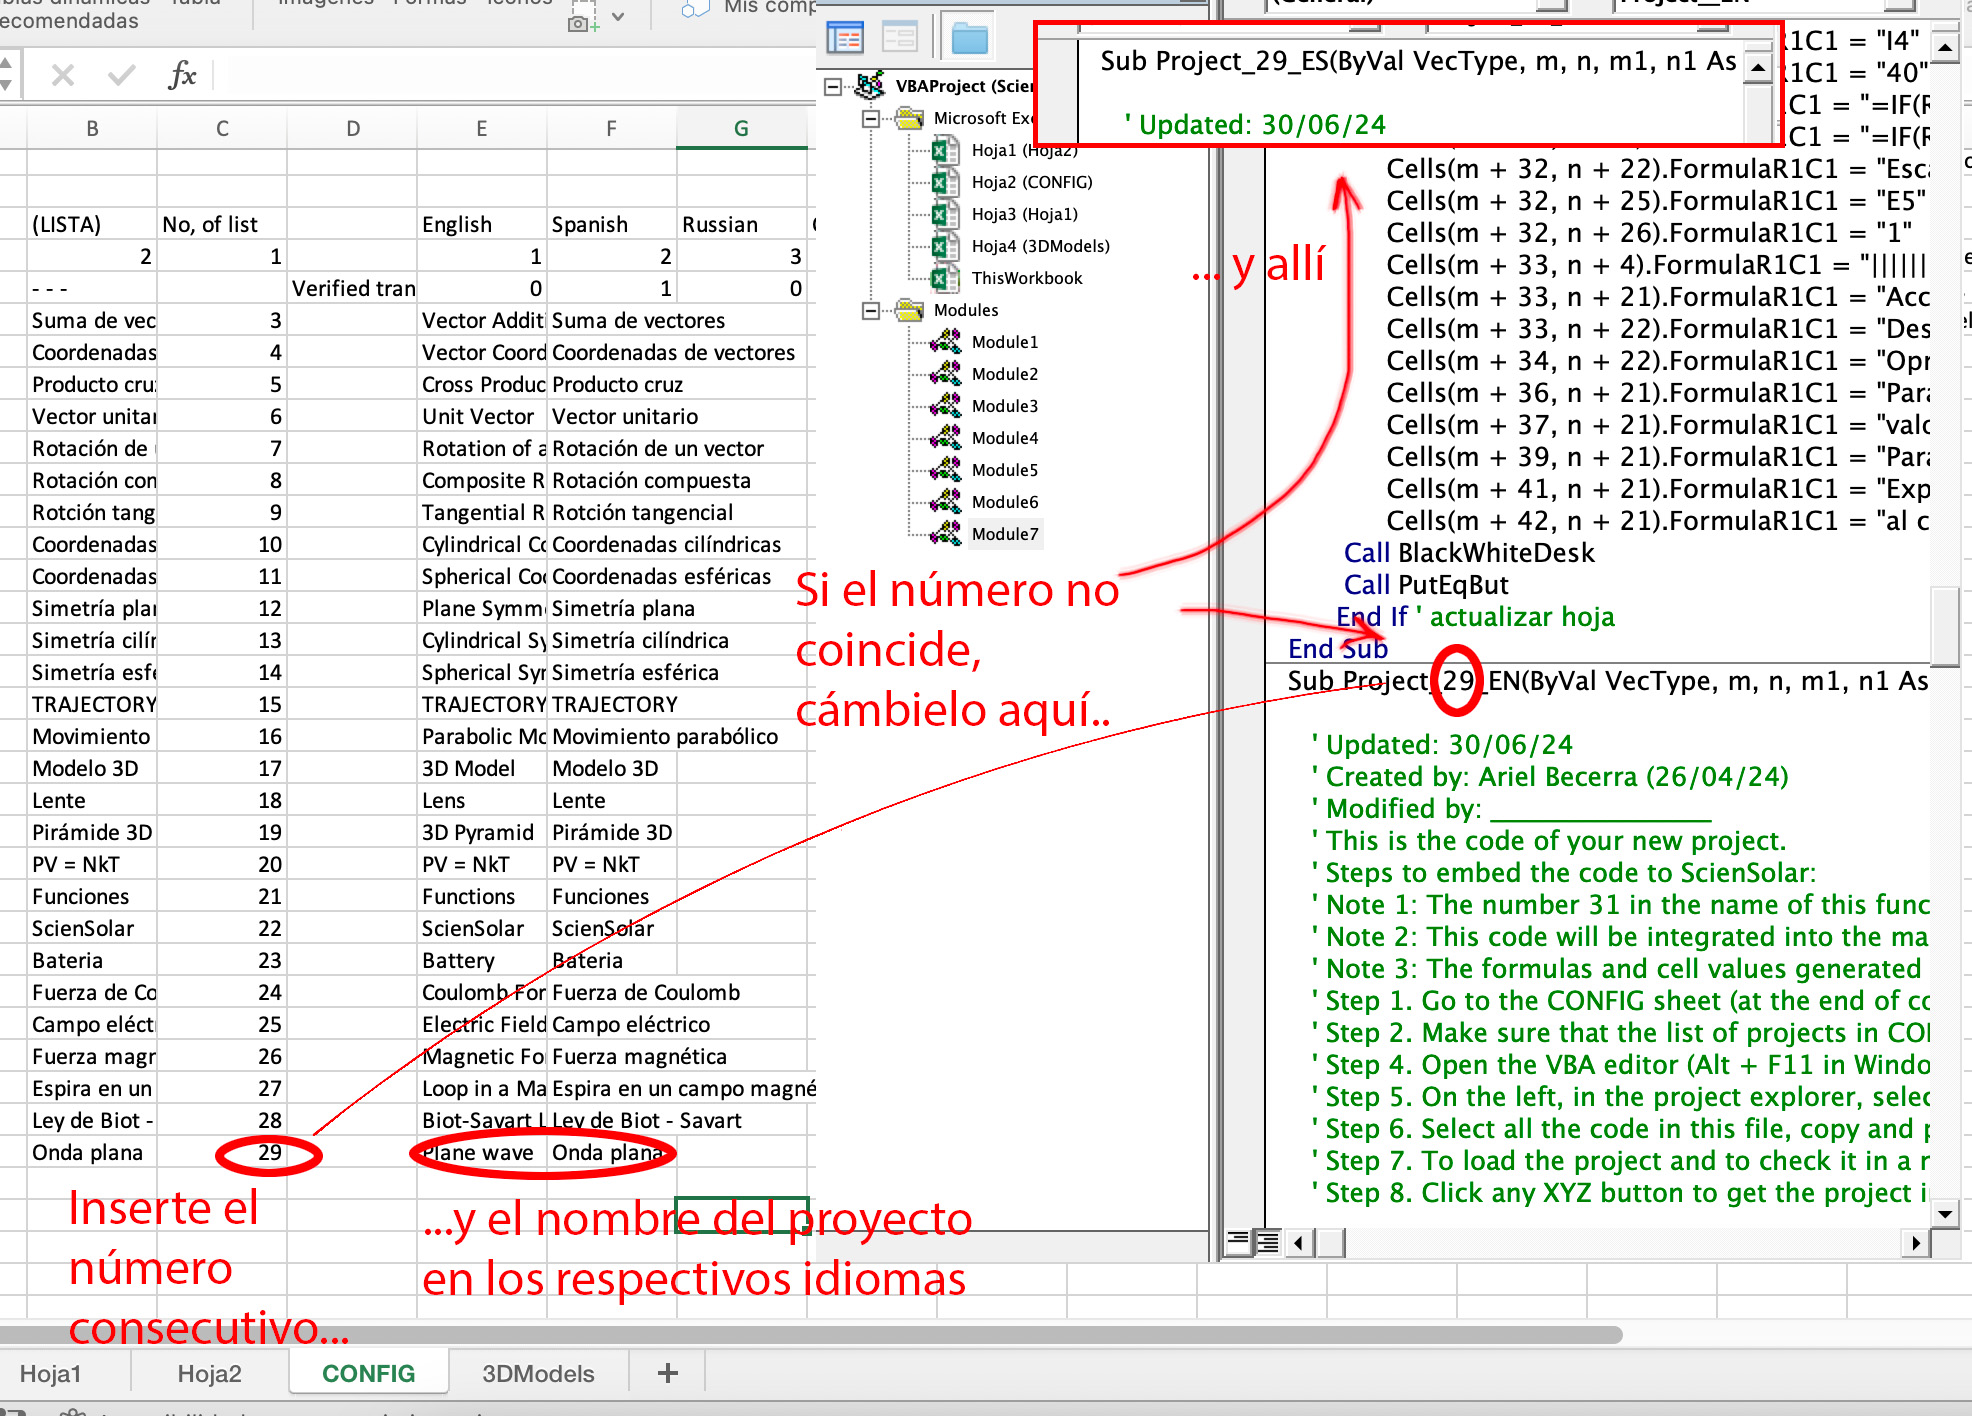
Go to the CONFIG spreadsheet, locate the list of projects, add the next consecutive number and verify that it matches the number in the code headers you just pasted into the modules. If they don’t match, correct them in the module headers (of both languages). Also add the project name in English and Spanish in the CONFIG spreadsheet.
7
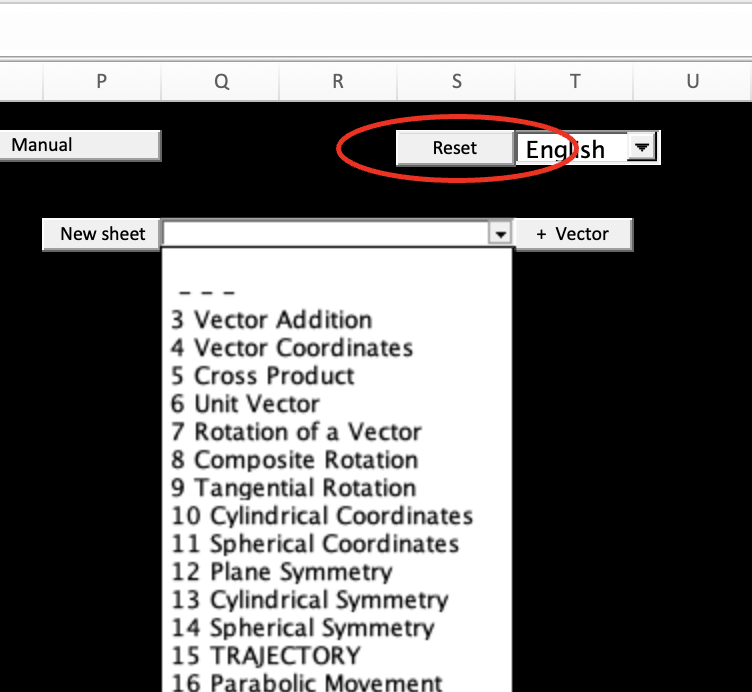
Go to the ScienSolar control panel and press Reset to refresh the sheet. The new module will now appear in the projects list. To load it, select it and press the +Vector button.