27 Physics simulation package for MS Excel, free and with no usage limits. By downloading the package, you agree to the terms under the license
| 📥 Install from Scratch | 🔄 Update Previously Installed Versions | Notes |
|---|---|---|
| If the quick option does not work, install ScienSolar using the first option. | To update any module, download it and replace it in the VBA editor. Right-click to download. | 📹 Installation Video 📖 User Manual |
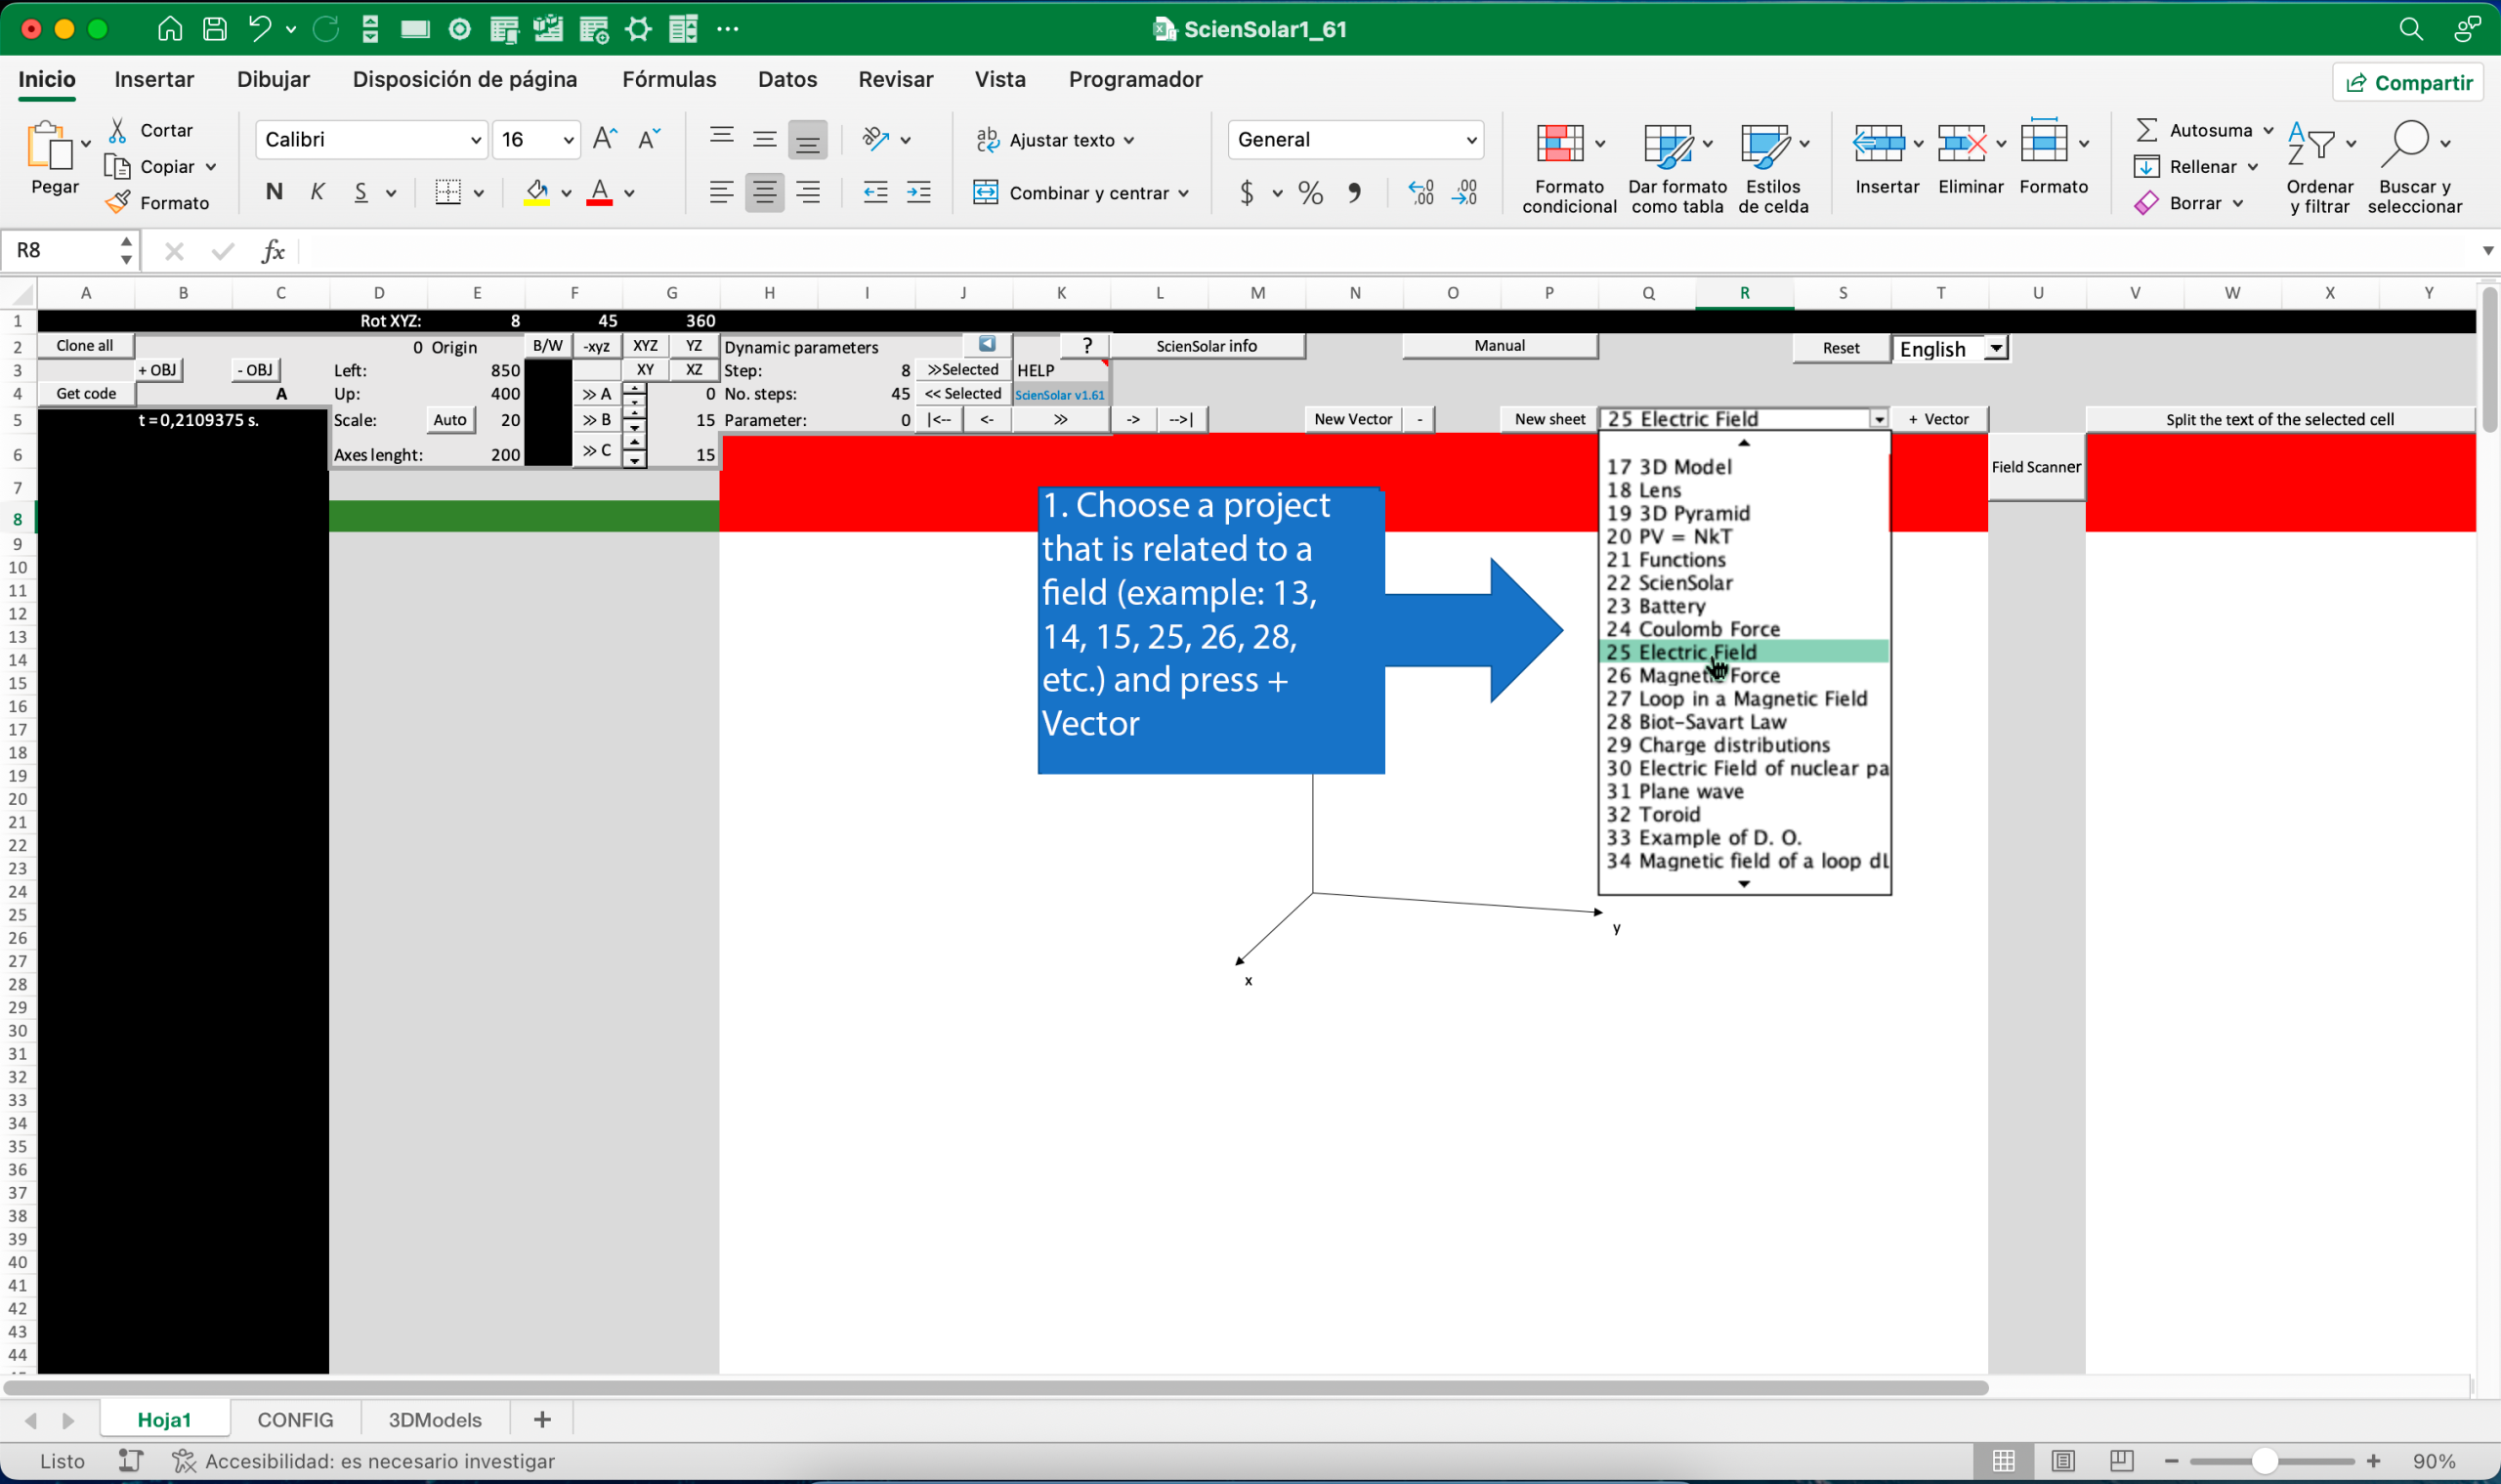
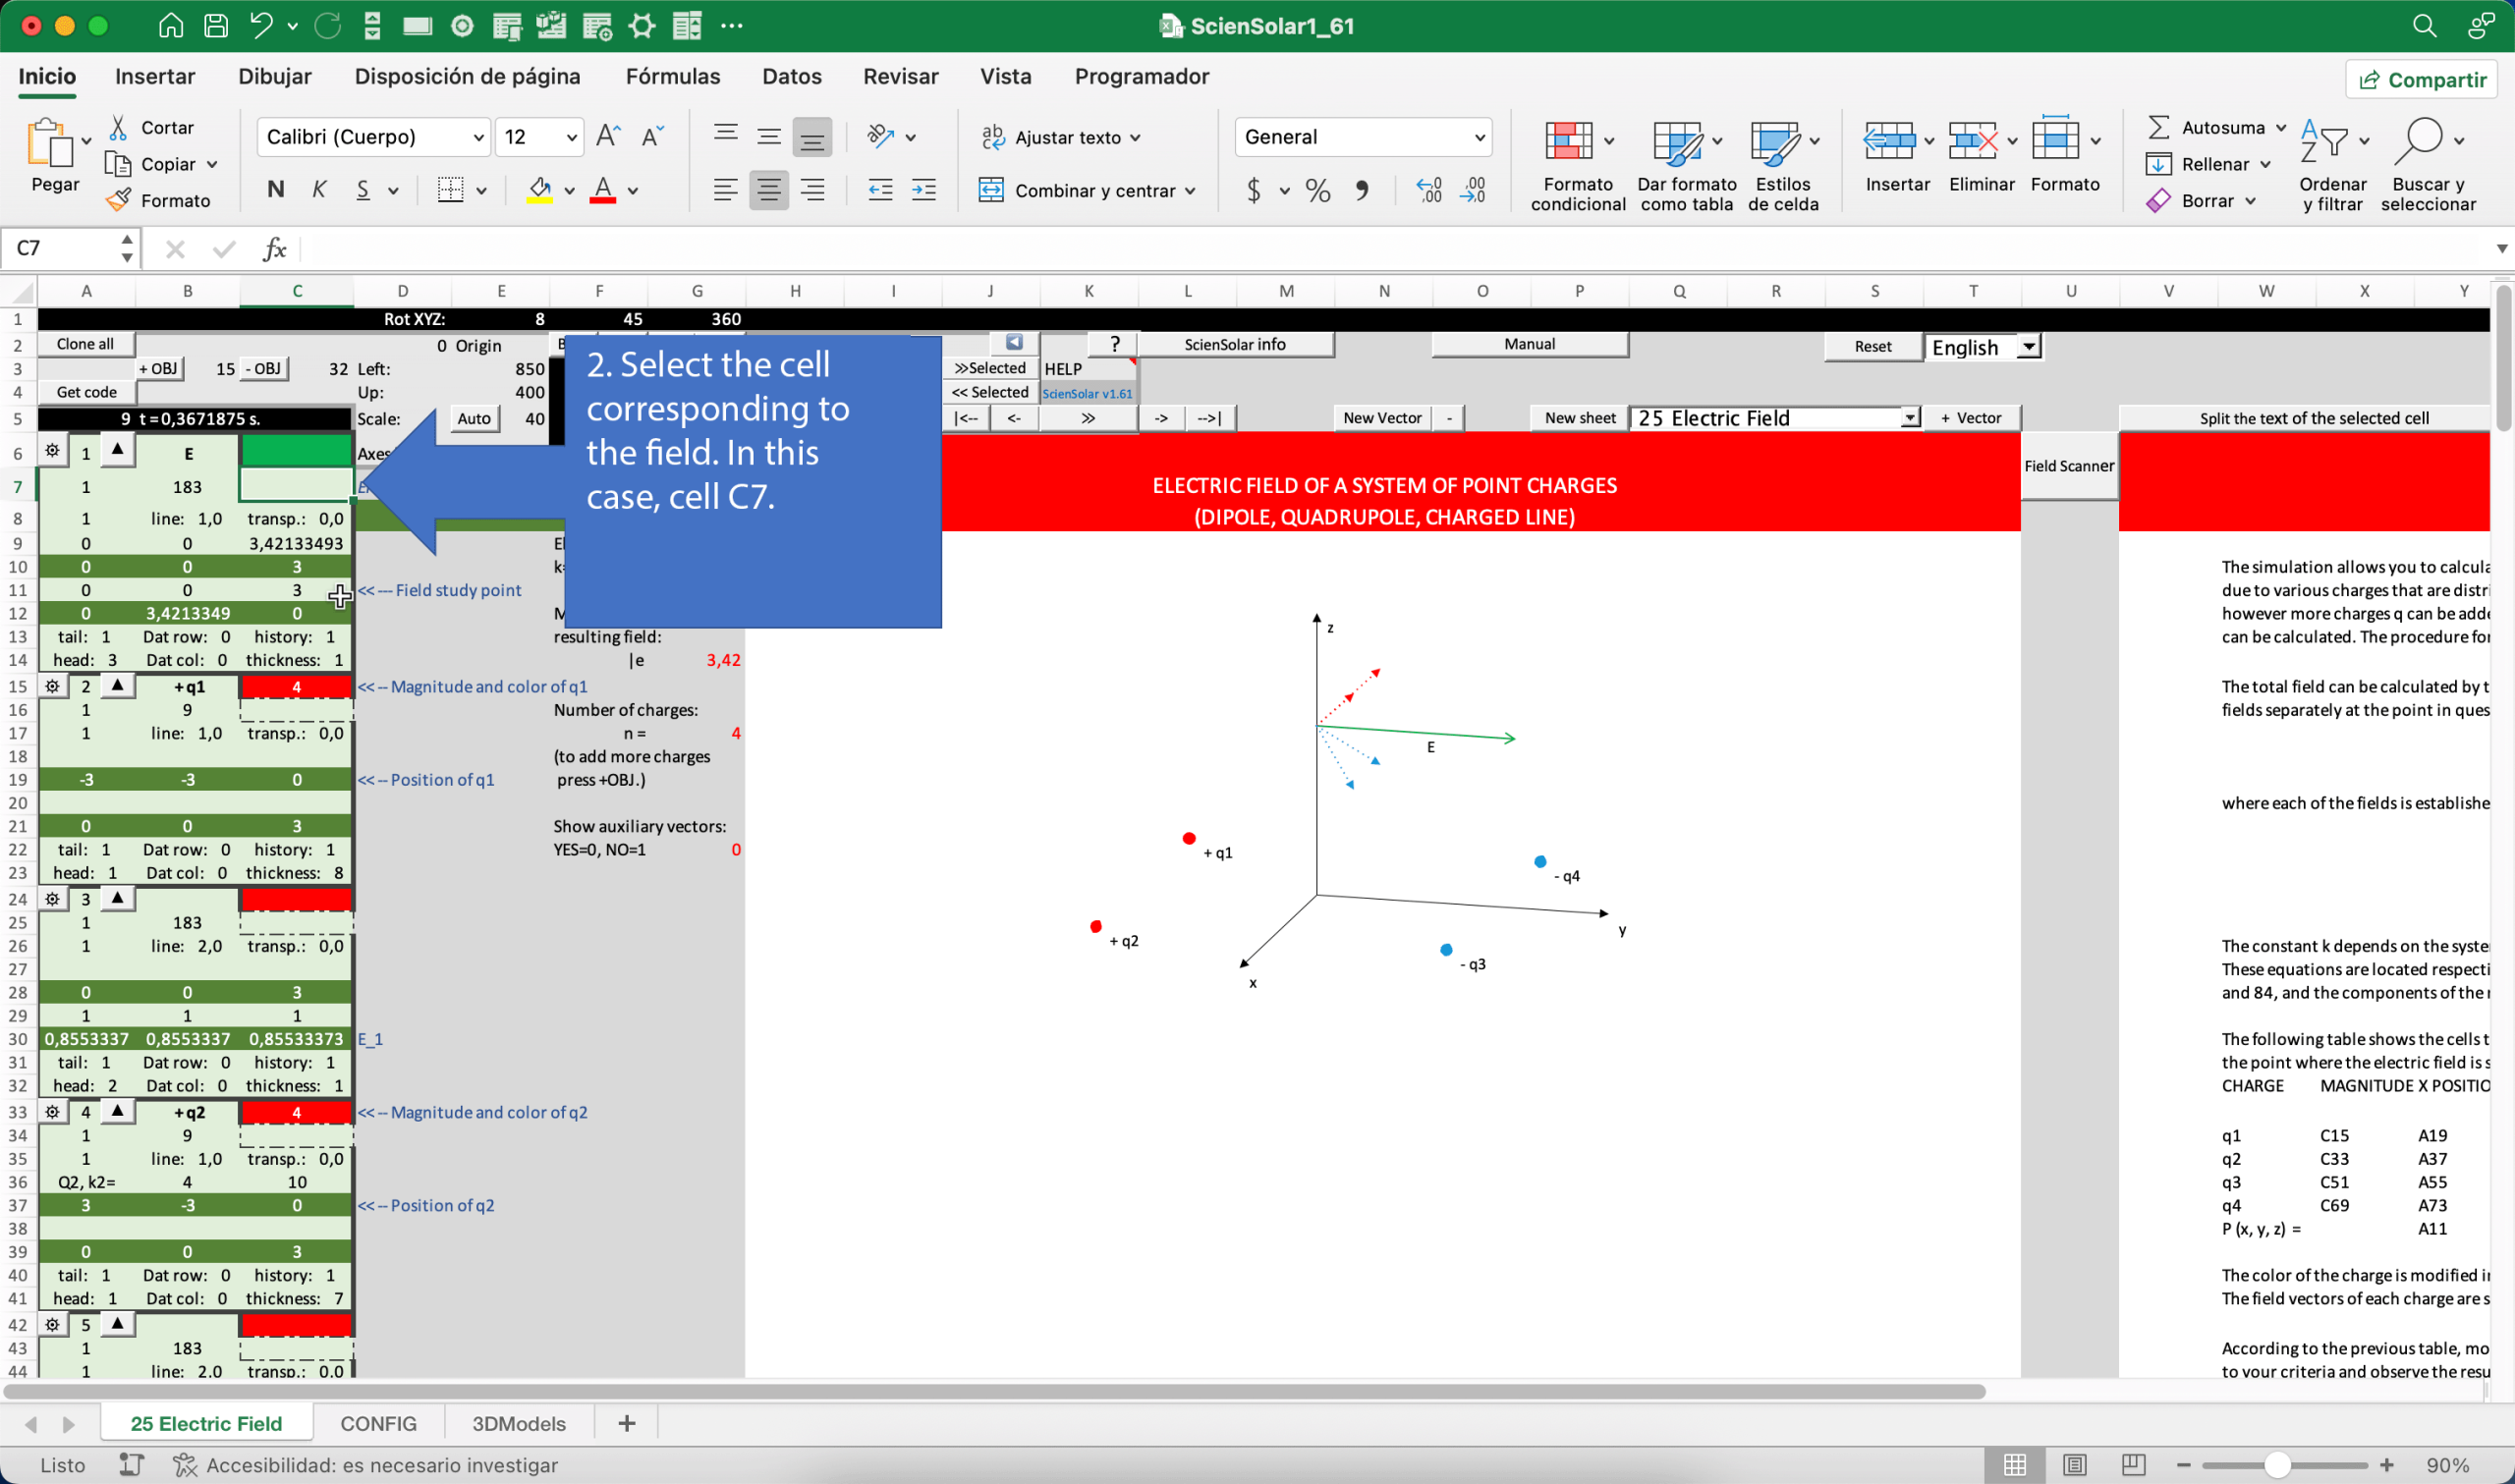
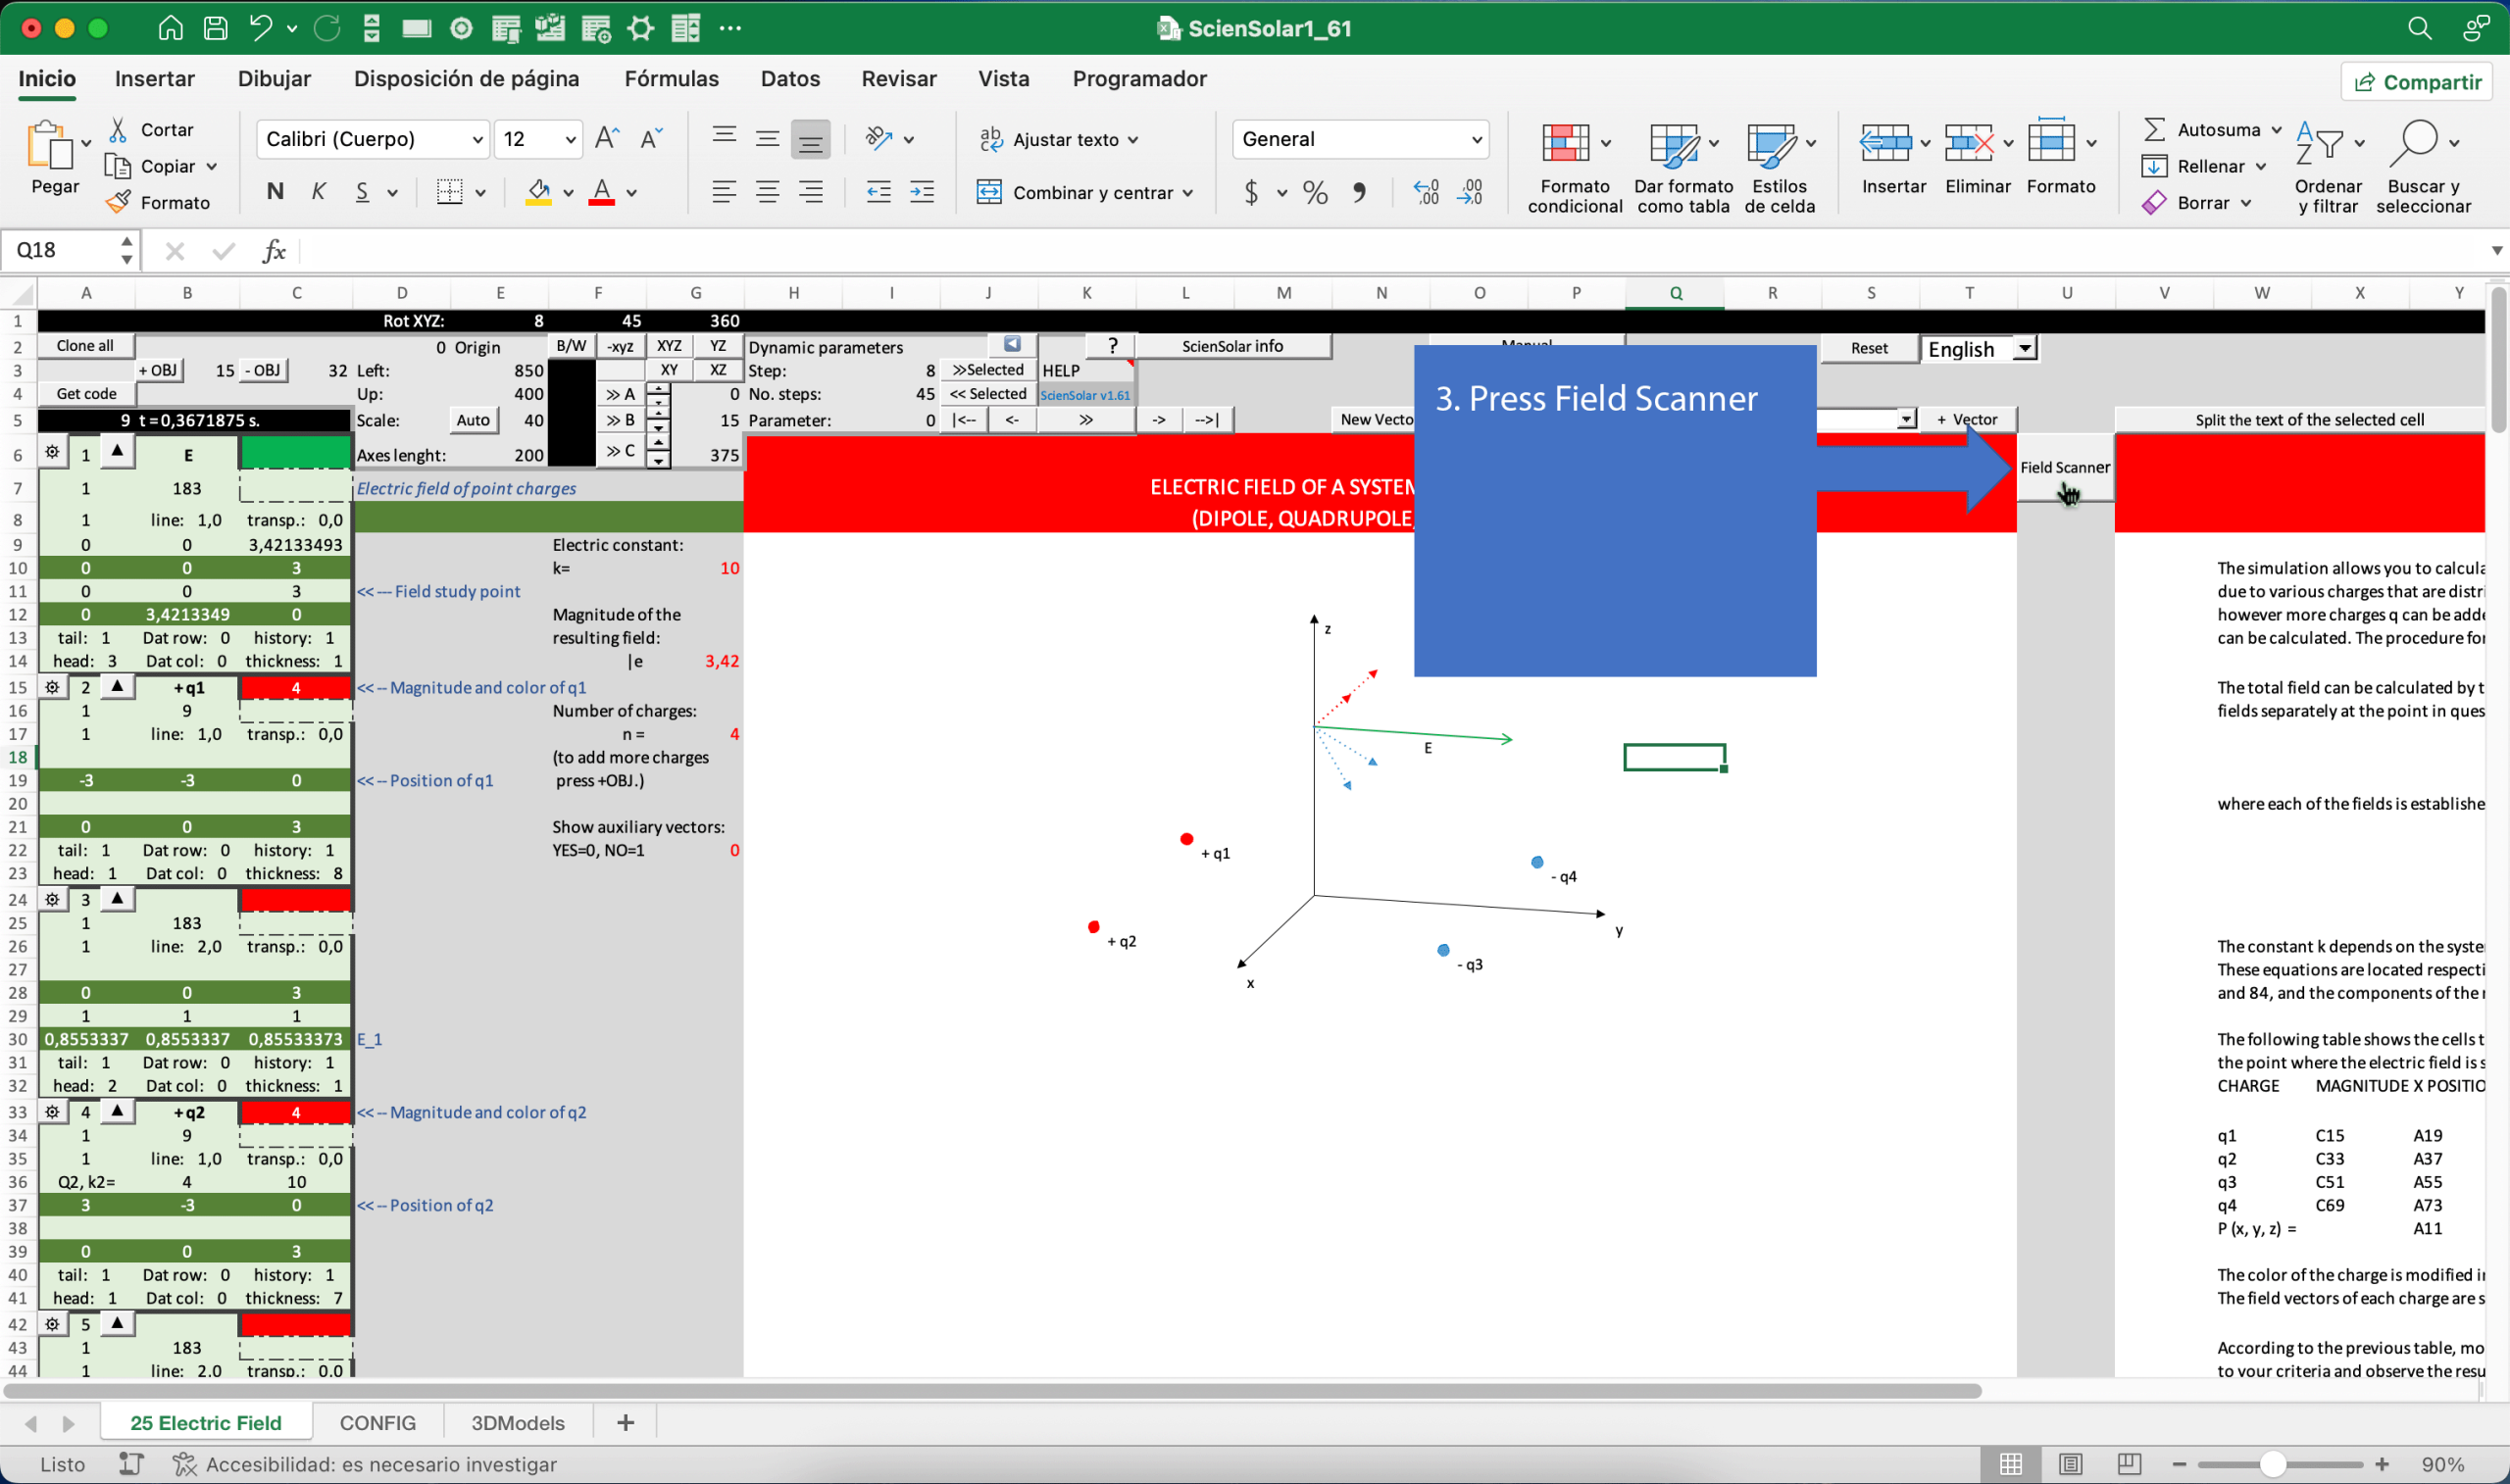
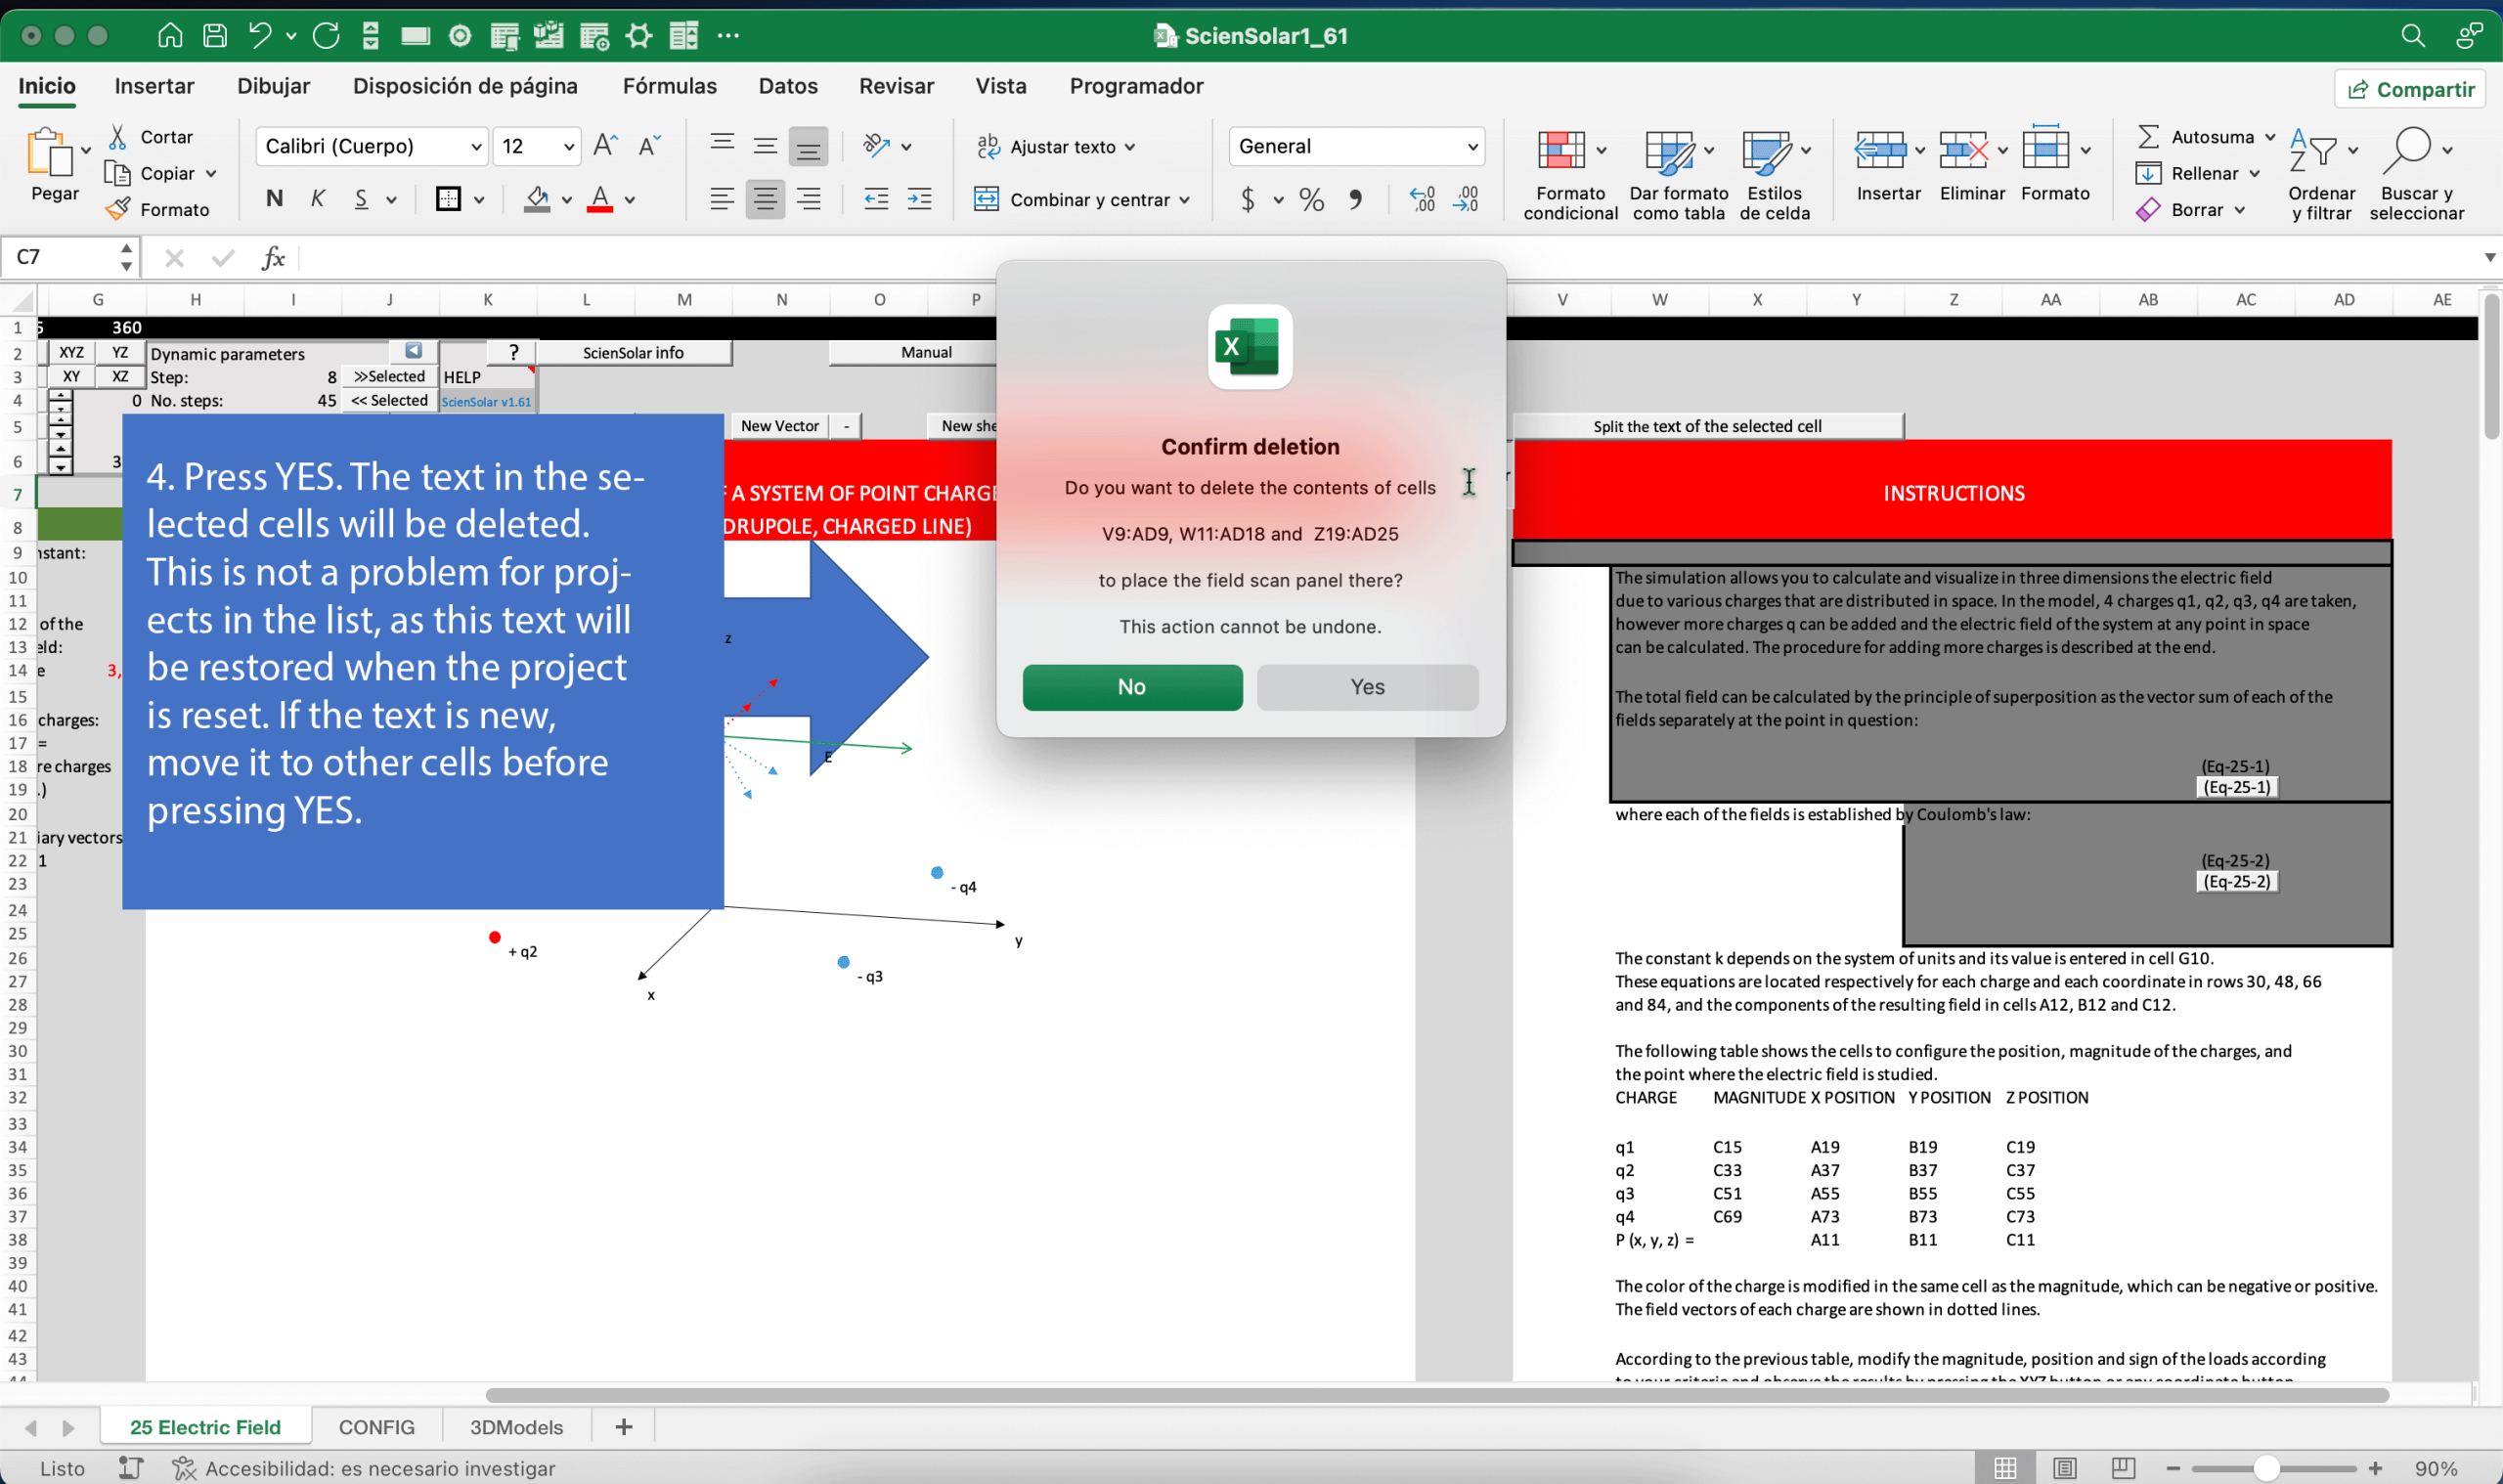
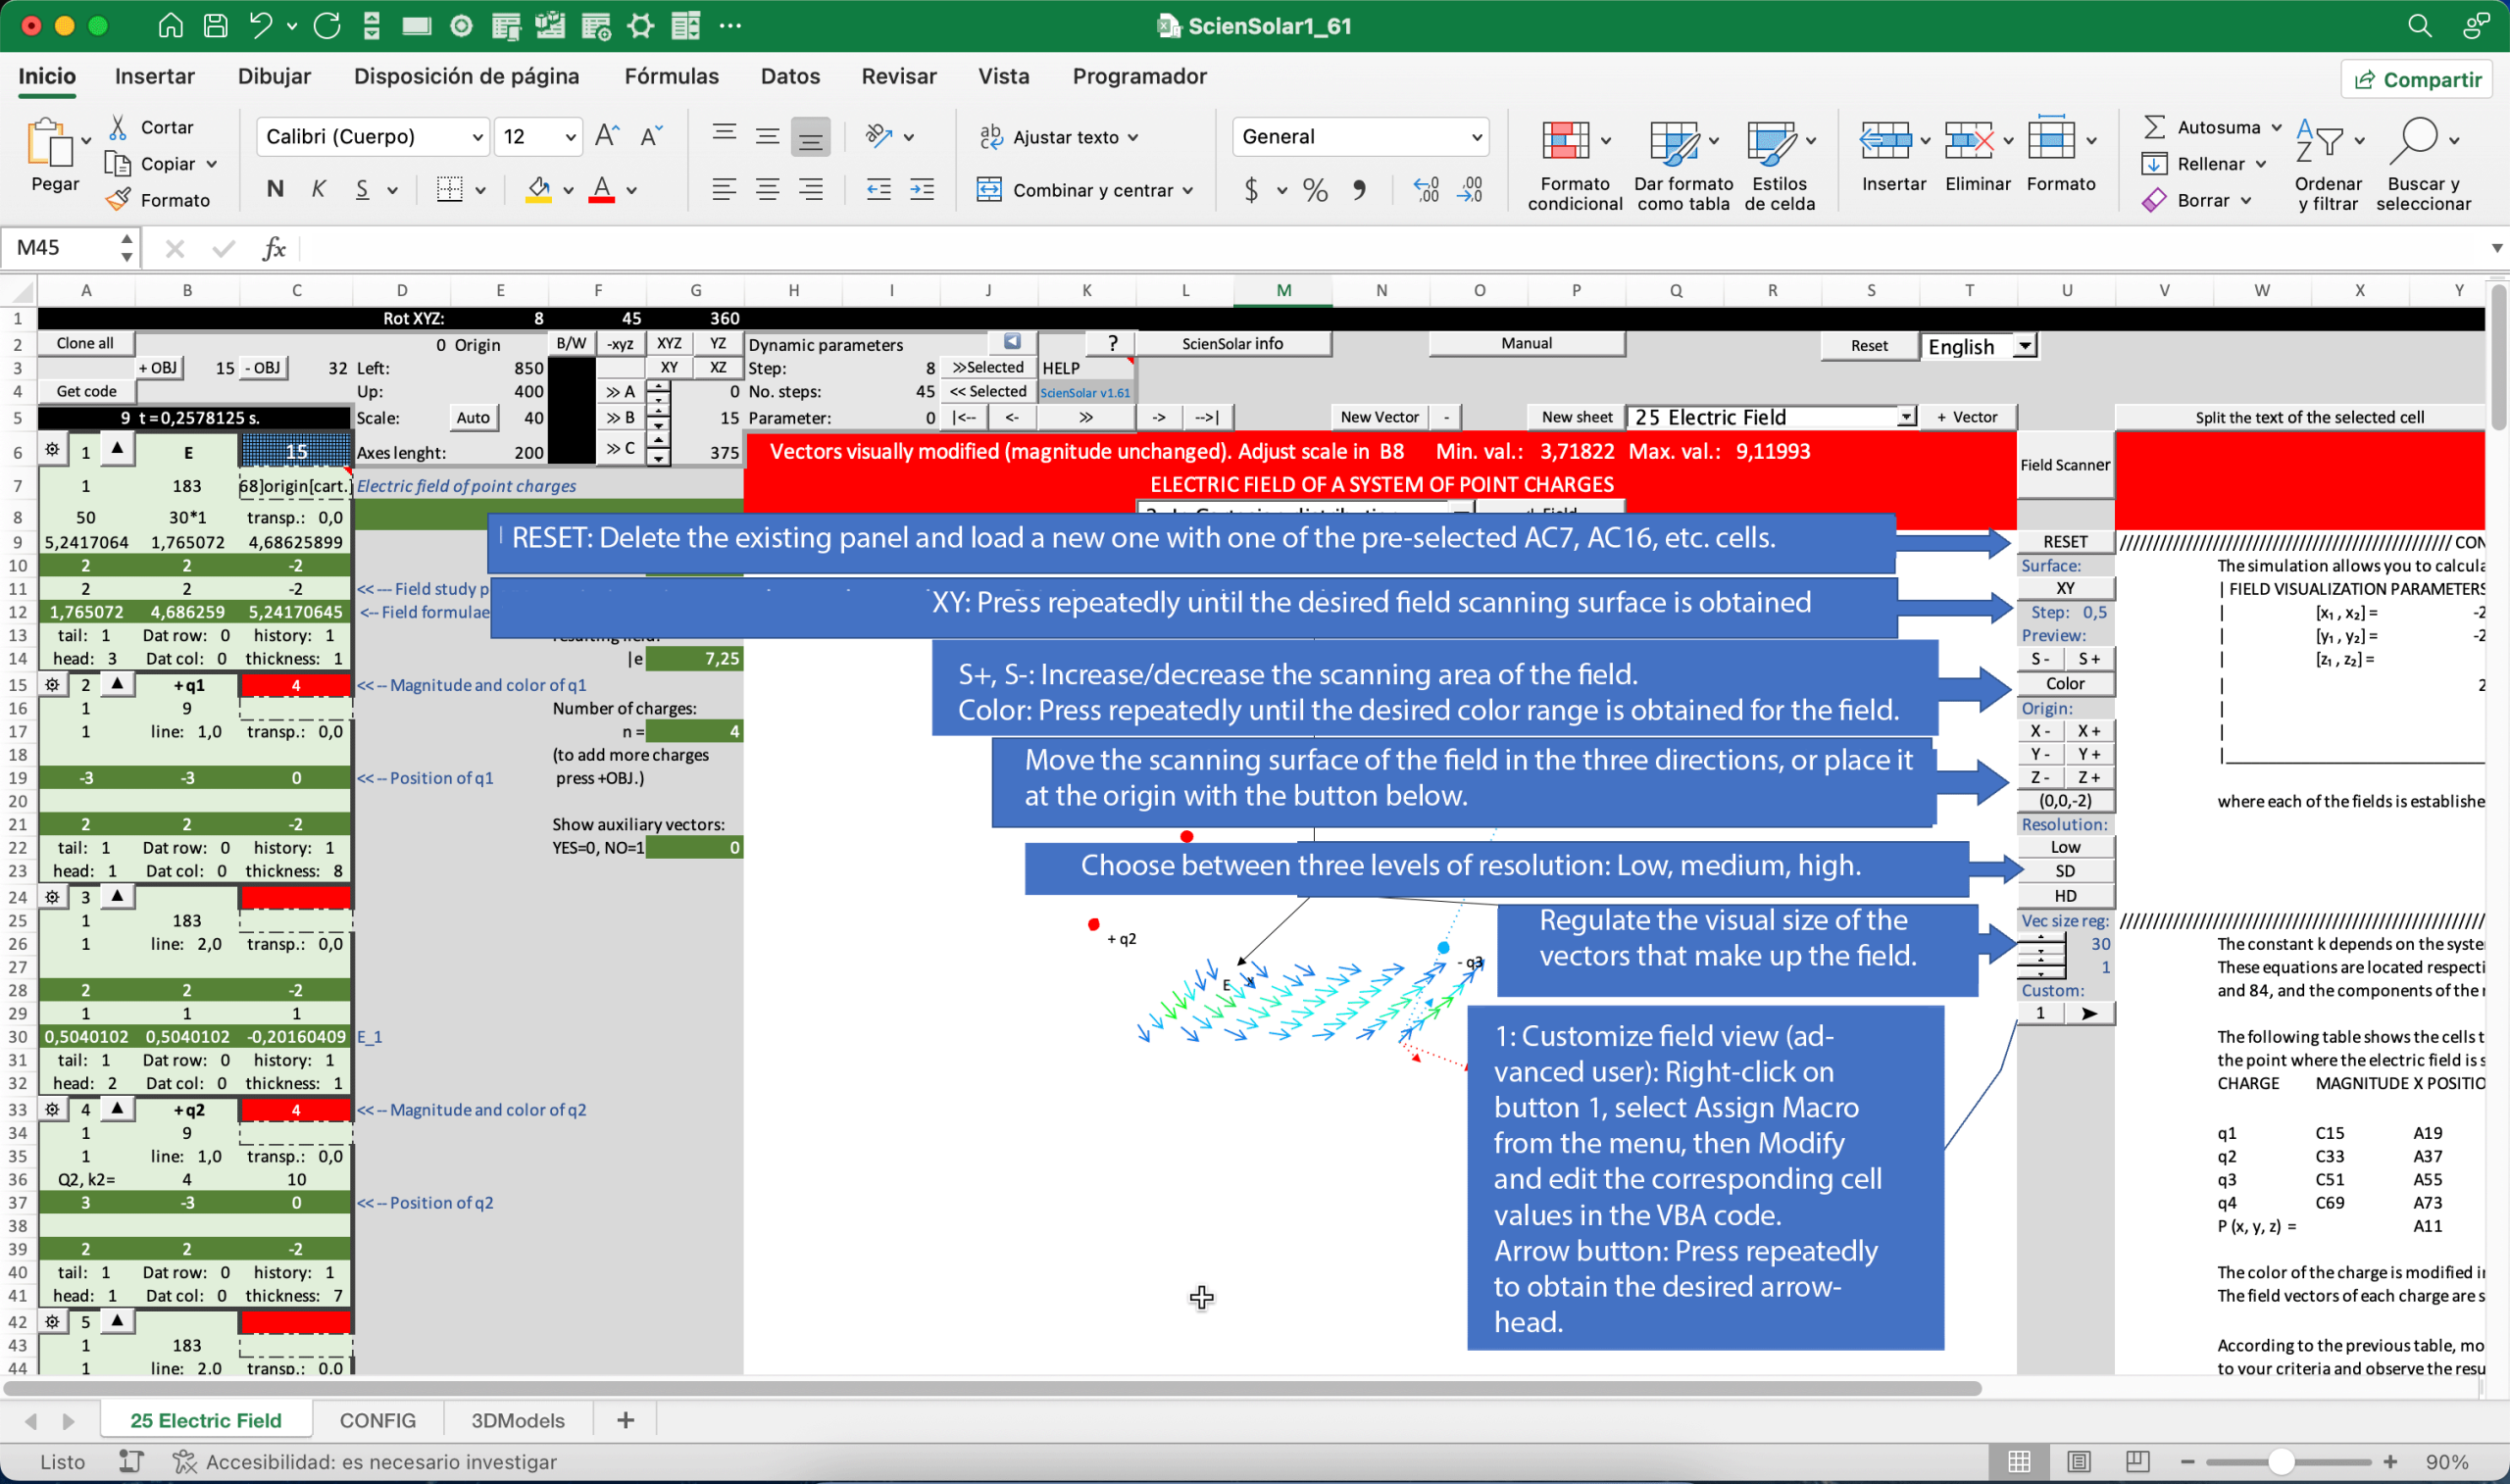
Ready-to-use Excel file: Complete periodic table elements model: | Update to version 1.62: (11-Feb-2026) Modules 1 and 2 correspond to the ScienSolar program, they must be updated together. 🔹 MODULE 1 (11-02-2026) Installation: Replace the Module 1 and Module 2 codes of ScienSolar in the Visual Basic editor with the updated ones. | Changes from version 1.6 (and 1.61): Some bugs were fixed. The Scanner Field button has been introduced, allowing for more efficient use of the functionalities in cells C7, C16, etc., to view fields. How to use the button: |
| Ready-to-use Excel file: ScienSolar1_6.xlsm (04-10-2025) | Update to version 1.6:
(04-Oct-2025)
Modules 1 and 2 correspond to the ScienSolar program, they must be updated together. 🔹 MODULE 1 (04-10-2025) Installation: Replace the Module 1 and Module 2 codes of ScienSolar in the Visual Basic editor with the updated ones. | Changes with respect to v. 1.55:
|
Update to version 1.55:
(05-04-2025)
Modules 1 and 2 correspond to the ScienSolar program, they must be updated together. 🔹 MODULE 1 (04-05-2025) Installation: Replace the Module 1 and Module 2 codes of ScienSolar in the Visual Basic editor with the updated ones. | Changes with respect to v. 1.54: Updated the code for the color gradient for the display of scalar and vector fields, with the possibility of choosing several color palettes, changing the value from 10 to 100 in the color cell (C6 or similar). | |
Download version 1.54:
| Update to version 1.54: 🔹 3DModels (spreadsheet with formulas. Open it and move it to the workbook where the code is.) | Main updates in v. 1.54:
|
| Download ScienSolar 1.53 (25-10-2024) | Update to 1.53 🔹 MODULE 1 (25-10-2024) 🔹 MODULE 2 (25-10-2024) |
© ScienSolar, 2023.